Step 01
Open the file in Photoshop.
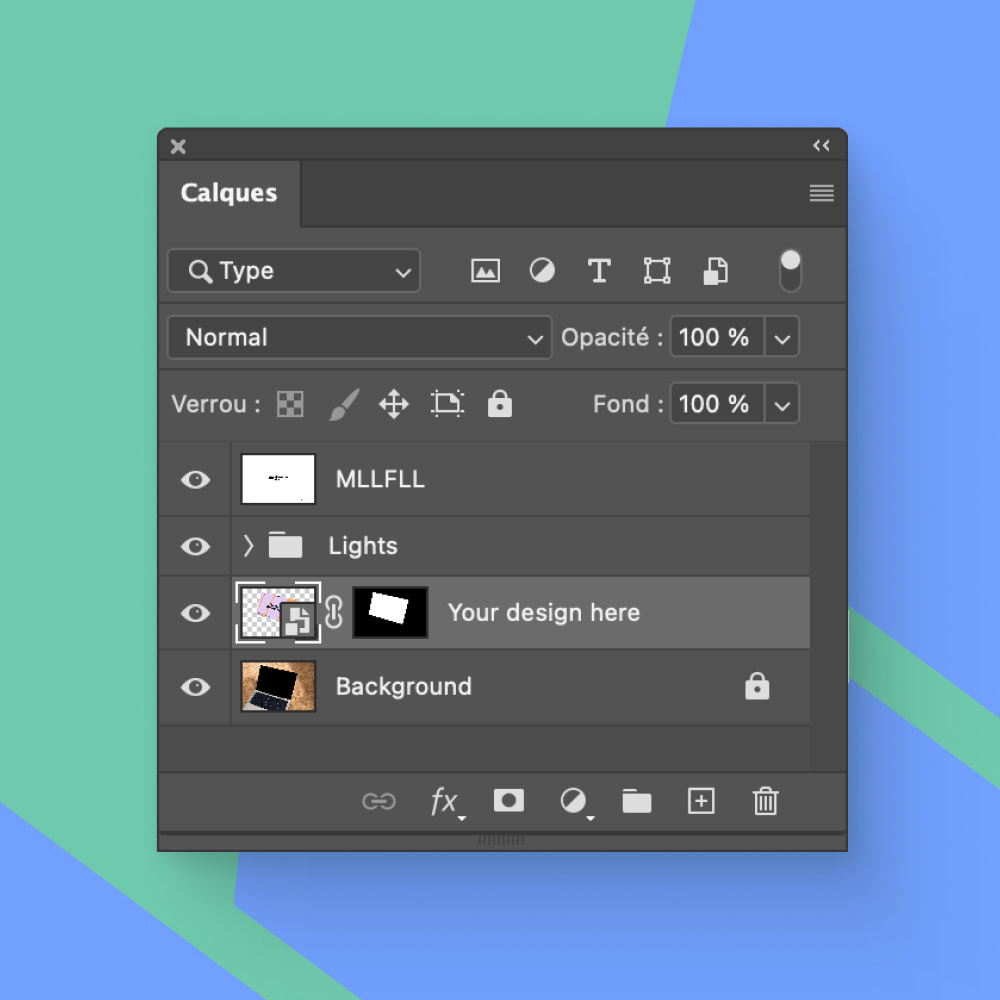
Double-click on the “Add your design here” layer thumbnail.
This will open a new tab in Photoshop.
15% off your first order with code WELCOME ☀️
Open the file in Photoshop.
Double-click on the “Add your design here” layer thumbnail.
This will open a new tab in Photoshop.
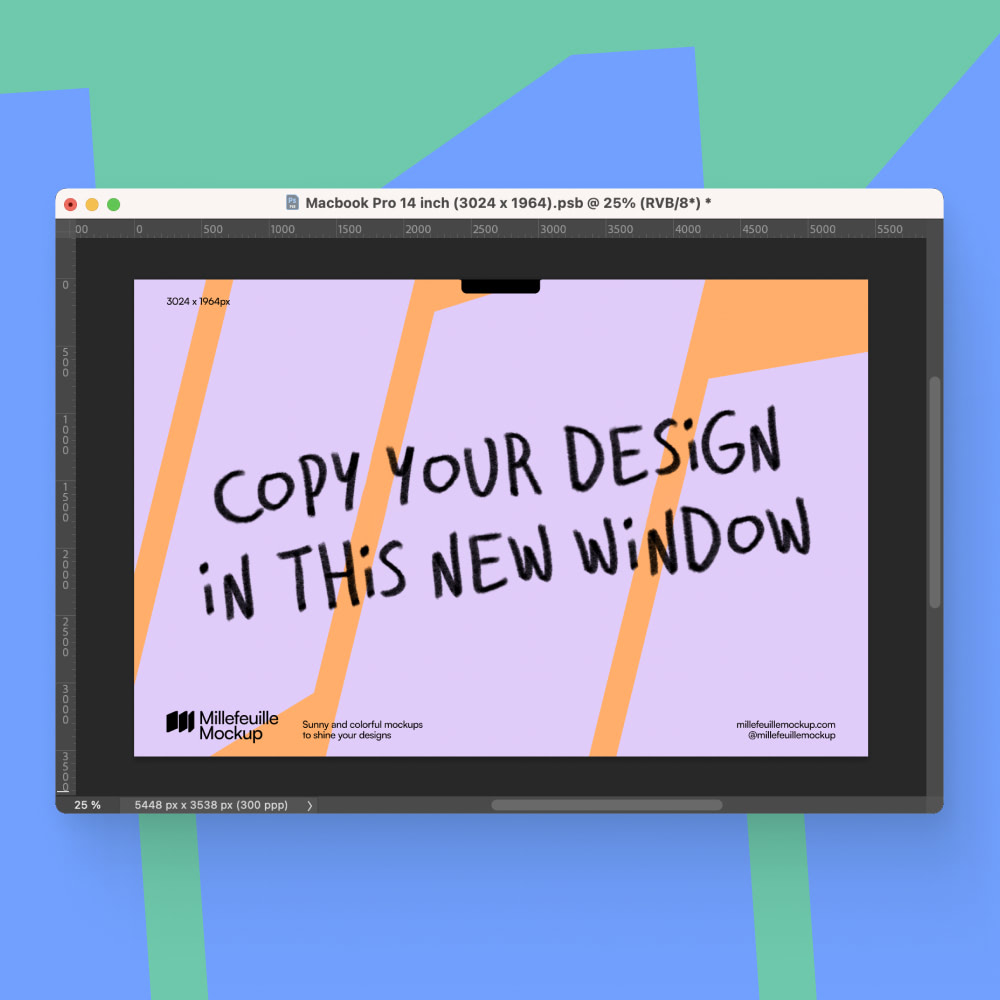
In the new tab, import your design and adjust the size if necessary. Sometimes there will be guides to show you where to place it or areas that will be hidden but useful for realism.
Remember to cover the whole available area for a best result!
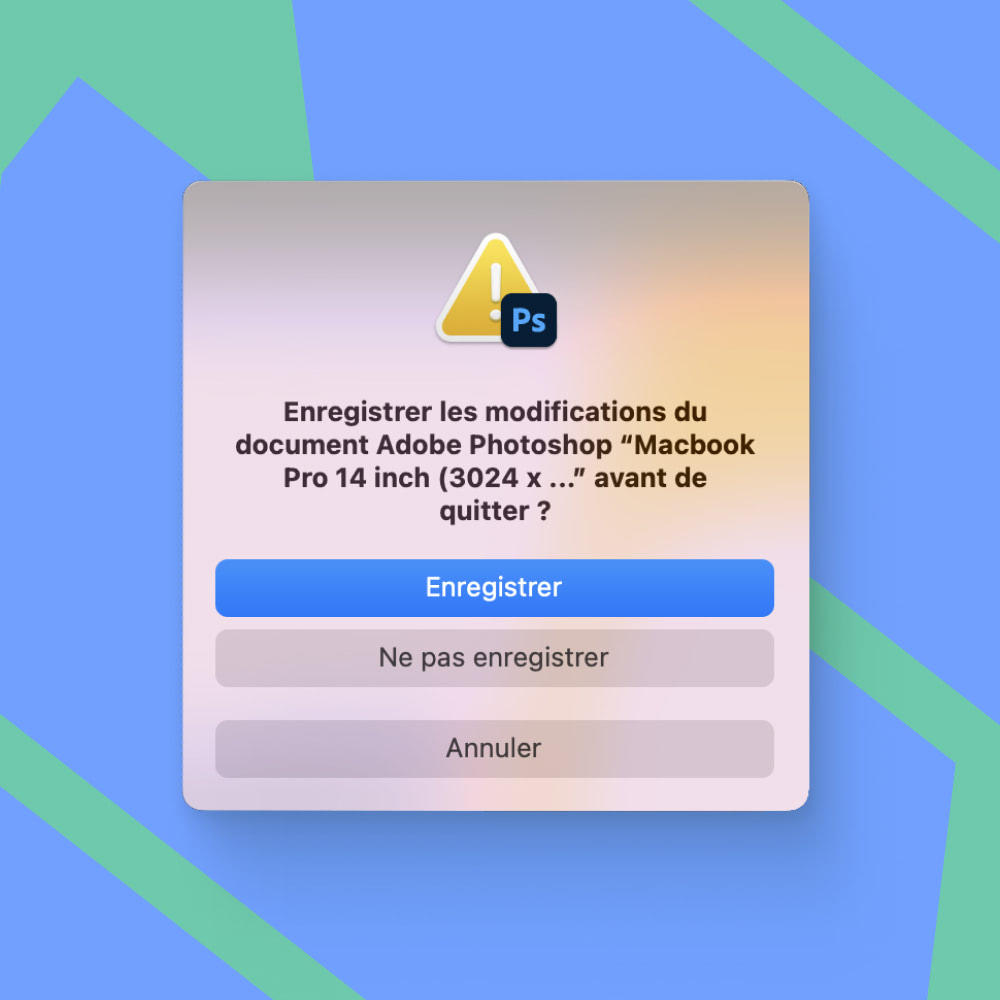
Once you are happy with the position of the image and have adjusted the options (if there are any in the file), save.
You can then close this tab.
After saving, you return to the mockup and your design takes its place.
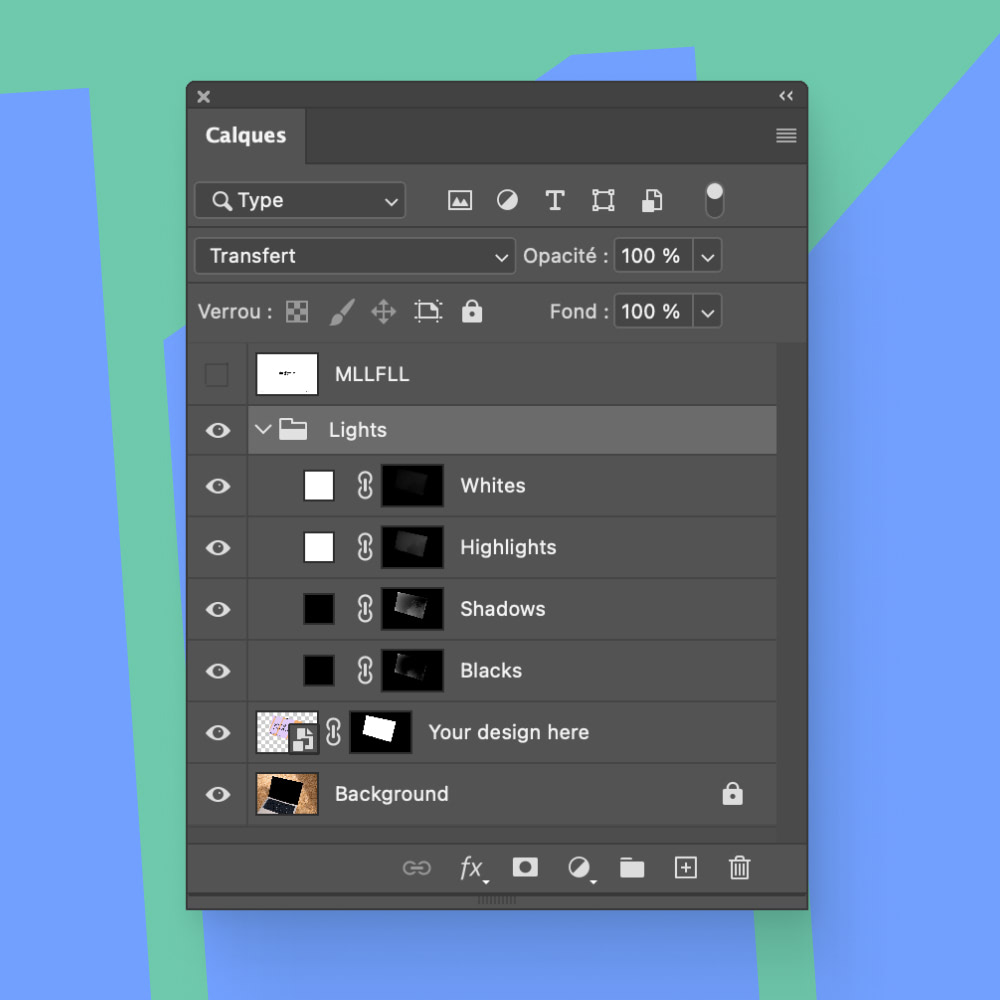
In the “Layers” window, this time adjust the opacity of the light layers in the “Lights” folder so that the light matches your design perfectly.

And that’s it! Everything is in place. All that’s left to do is export and shine!
If you need to edit the image again, simply repeat the previous steps.